|
|
|


Amusement Game Door Mounting Kit for Double Slot Door
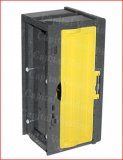
The amusement game door mounting kit is designed for games that already utilize a Mars/MEI bill acceptor and allow the addition of a Nayax or Cantaloupe card reader. The mounting kit does not require drilling into the machine door so the door is preserved. The antenna of the card reader is mounted within the bracket so no holes need to be drilled in the cabinet. Popular with Stern and Jersey Jacks pinball machines and other games that have a door that allows the full masks of the validator to protrude on the lower left-hand side of the door.
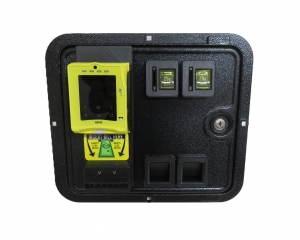
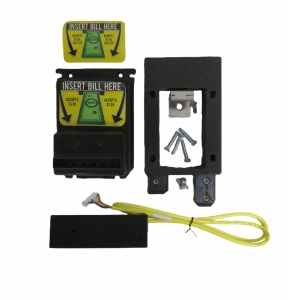
The complete mounting kit includes the following:
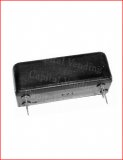
- Mars/MEI modified compact mask with upper edge removed and 3 pre-drilled holes
- Custom spacer - Located behind the mask and includes an opening for Nayax harnessing
- Three 8-32” pan head screws to secure the bracket in place
- Two mask decals ("Accepts $1-$5" and "Accepts $1-$20")
- Mounting bracket
- Four M35-25mm screws to mount the mask to the mounting bracket
Installation Instructions:
- Turn off the power to the game and open the door of the game.
- Disconnect power harness to Mars validator and remove the validator from the game door. Some games will have short spacers on the studs. If so, they need to be removed so the validator mask protrudes outward as far as possible when installed.
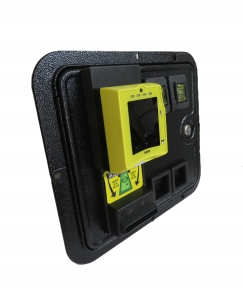
- Remove the clear cover from the rear of the Nayax mask and mount the reader to the bracket using the 4 screws provided.
- Remove the existing mask and thin spacer from the validator.
- Place the new thin spacer on the front of the validator
- Run 6 inches of the harness that connects to the Nayax reader through the hole in the thin spacer. While holding the new mask in your hand, run the harness though the opening at the top of the mask. Insert the white connector from the yellow harness into the Nayax Touch. Reinstall the clear cover.
- Insert the antenna connector into the connector on the mask. Then, place the antenna in the mounting bracket. Feed the antenna cable loop down though the opening of the mask because the cable needs to be inside of the game. This cable should not coil so there is about an 18” loop that will need to be cable tied to the existing harnessing in the game for a neat appearance in a future step.
- Mount the validator to the door of the machine and reattach the harness.
- Slide the mounting bracket with mask into the mask.
- Secure the bracket to the mask using the 3 screws provided. Close and lock the door to be sure all fits properly. Adjust if necessary.
- Place the appropriate label on the validator mask.
- Connect the telemeter by following the instructions provided by Nayax. If you are utilizing a Capital interface board kit, the instructions are included with the kit.
-
Product OptionsOption 1 - Complete Kit for 120V Interface - Includes modified Mars mask, Option 2 - Kit for 120V Interface - Does not include modified Mars mask, Option 3 - Complete Kit for 12VDC Interface - Includes modified Mars mask, Option 4 - Kit for 12VDC Interface - Does not include modified Mars mask
Customers who viewed this product bought